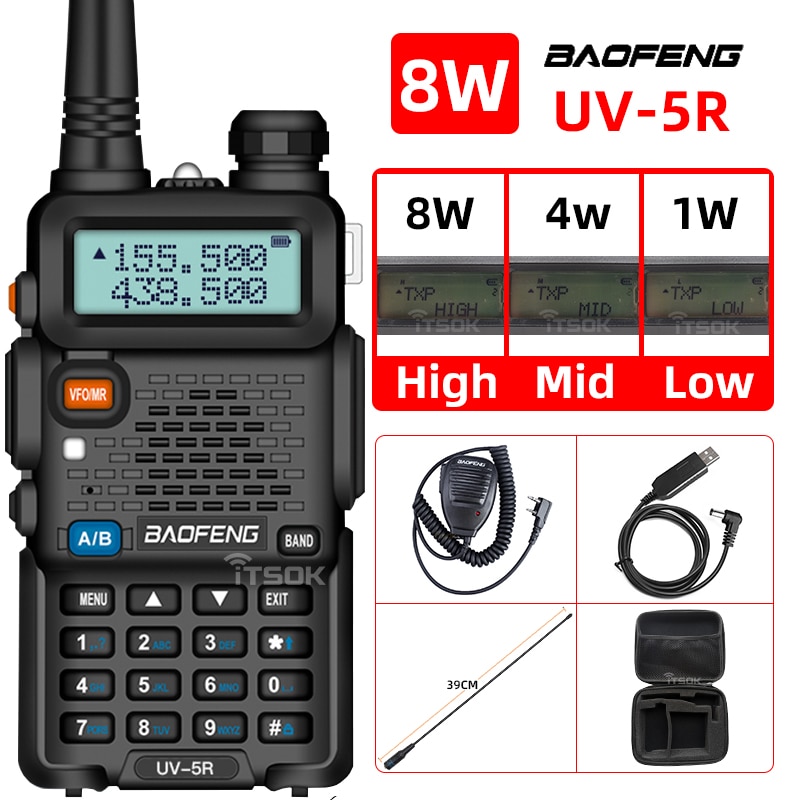
To scan for repeater tones or privacy codes on a Baofeng UV-5R radio, you can follow these steps:
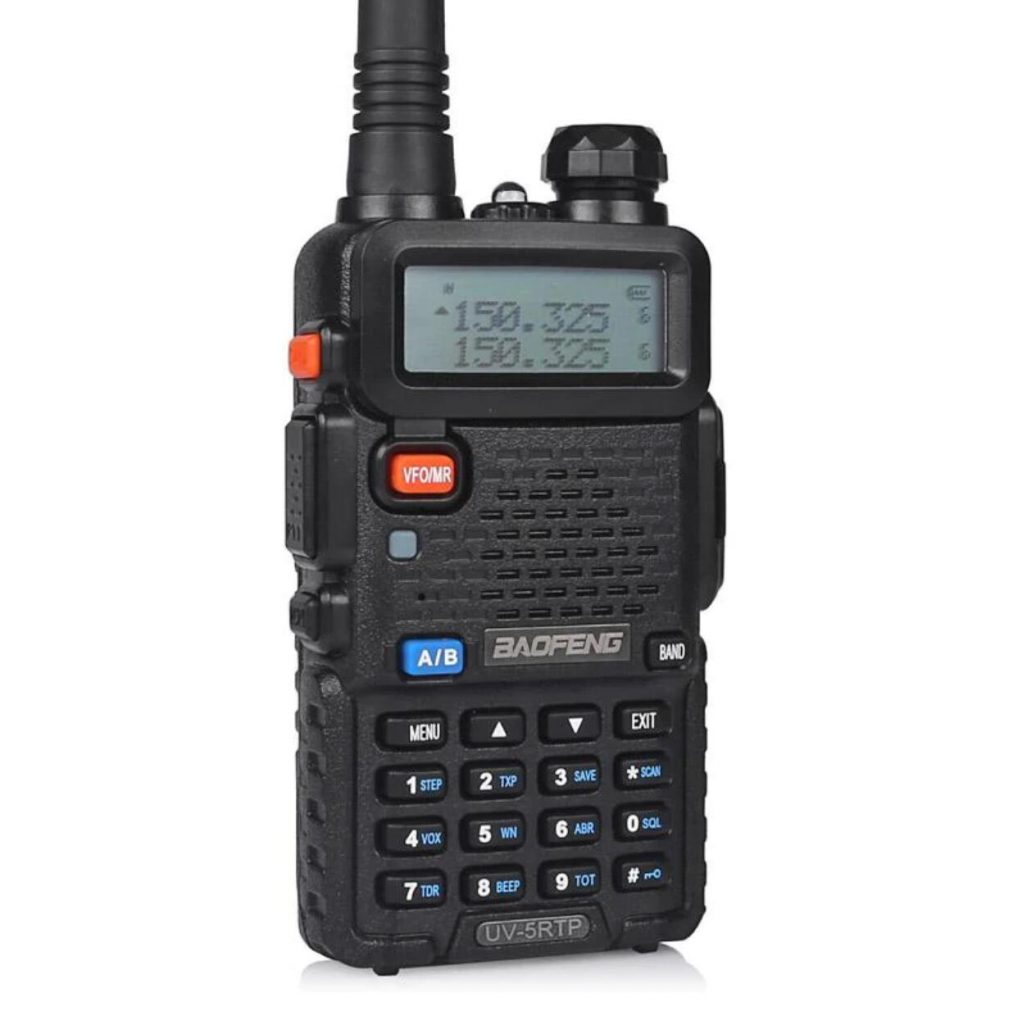
- Turn on the radio by pressing and holding the orange button on the top right-hand side of the radio.
- Press the VFO/MR button on the left-hand side of the radio to switch to the VFO (Frequency) mode.
- Enter the frequency of the repeater you wish to use by using the keypad or the up/down arrow keys.
- Press the menu button (the one with the letters “MENU” on it) on the right-hand side of the radio.
- Use the up/down arrow keys to scroll through the menu options until you see “T-CTCS” or “T-DCS”, depending on the type of tone you are looking for.
- Press the menu button again to enter the tone menu.
- Use the up/down arrow keys to scroll through the tone options until you find the tone you are looking for. Note that the tones may be labeled with a number or a letter, depending on the tone type.
- Press the menu button again to exit the tone menu.
- Press the scan button on the left-hand side of the radio to start scanning for the tone or code.
- If the radio detects the tone or code, it will stop scanning and you will hear the repeater transmission.
- To exit the scan mode, press the scan button again.
Note that the exact steps may vary slightly depending on the specific model of the Baofeng UV-5R radio you have.
-
Sale!
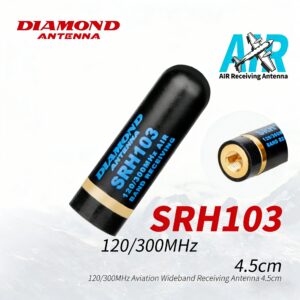
DIAMOND SRH103 Short Antenna 120/300MHz Air Band Reception SMA-P 1/4λ 4.5cm Stubby
Original price was: $96.00.$48.95Current price is: $48.95. Add to cart -
Sale!
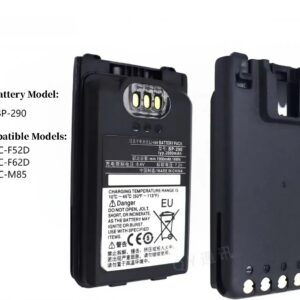
New Replacement Battery for ICOM IC-F52D IC-F62D IC-M85 BP-290 BP-294 Ham Radios
Price range: $38.59 through $44.00 Select options This product has multiple variants. The options may be chosen on the product page -
Sale!
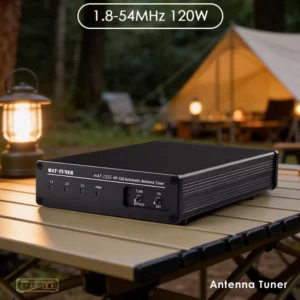
MAT-TUNER mAT-125S 120W HF SSB Antenna Auto-tuner AUTO TUNER Automatic Antenna TUNER For ICOM YAESU KENWOOD Ham Radio
Original price was: $550.00.$228.00Current price is: $228.00. Add to cart -
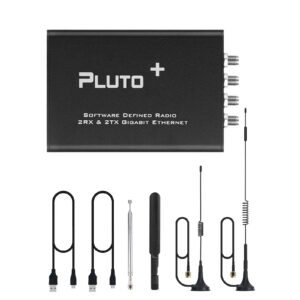
Original PLUTO+ ADC/DAC AD9363 SDR Radio Receiver Transmitter 70MHz-6GHz Software Defined Radio ADI ADALM-PLUTO Plus
Read more -
Sale!
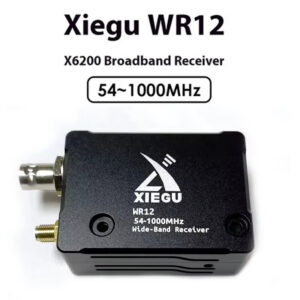
New XIEGU WR12 Broadband Receiver 54-1000MHz X6200 Shortwave Radio Expansion Module
Original price was: $109.00.$84.00Current price is: $84.00. Add to cart -
Sale!
New RC-2 CNC Aluminum Alloy Antenna Bracket ICOM Aikemu IC-705 Shortwave Radio Dedicated Compatible Adapted for ARK-705 Shield
Price range: $18.77 through $49.80 Select options This product has multiple variants. The options may be chosen on the product page -
Sale!
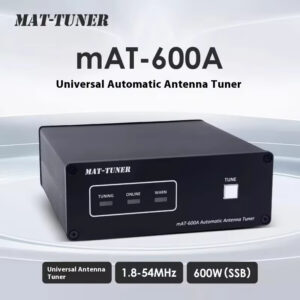
mAT-600A High Power Universal Automatic Antenna Tuner 1.8-54MHz 600W Shortwave Antenna Tuner
Original price was: $998.00.$499.00Current price is: $499.00. Add to cart -
Sale!
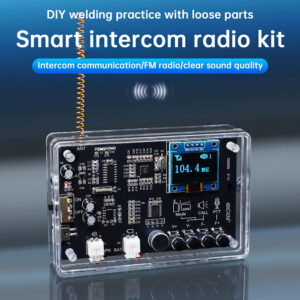
DIY Walkie Talkie FM Radio Electronic Kit Adjustable Frequency 87-108MHz Digital Display DIY Soldering Project Practice RDA5807
Original price was: $87.00.$30.89Current price is: $30.89. Add to cart -
Sale!
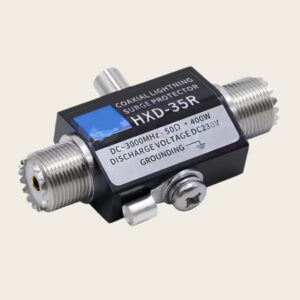
UHF Female to UHF Female lightning arrester DC-3GHz walkie talkie lightning arrester CA-35R
Original price was: $85.00.$31.98Current price is: $31.98. Add to cart -
Sale!

Outdoor BeeBest 3 Pro Ultra-Thin Mini Ham Radio 5W phone APP Bluetooth Programming Type-C
Original price was: $189.00.$94.00Current price is: $94.00. Add to cart -
Sale!
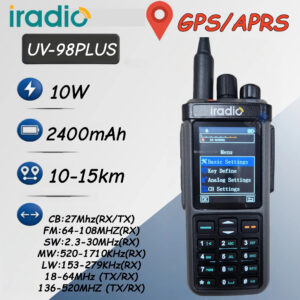
2026 New Iradio Uv-98Plus Gps Aprs Walkie Talkie Type-C Charging Compatible Wireless Set Rt-880 Rt-880G Rt-950 Pro Two-Way Radio
Price range: $92.00 through $103.00 Select options This product has multiple variants. The options may be chosen on the product page -
Sale!
Walkie-talkie car antenna radio short Miao son high gain UV suitable for Yaejo Special e-Zpass ICOM Aikom
Original price was: $59.00.$35.99Current price is: $35.99. Add to cart -
Sale!
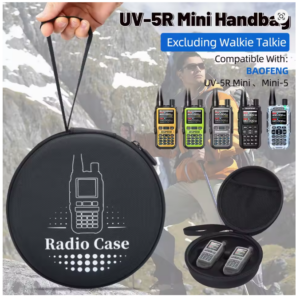
UV-5R Mini Walkie Talkie Carrying Case | Handbag Storage for UV-5R Mini Ham Radio | Camping & Hiking Gear
Original price was: $22.00.$11.00Current price is: $11.00. Add to cart -
Sale!
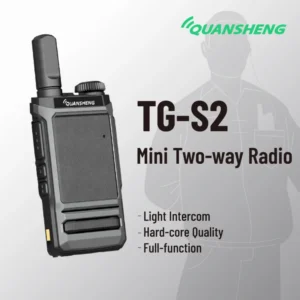
Quansheng TG-S2 Pocket Size Two Way Radio UHF 400-470MHz 2W Walkie Talkie
Original price was: $89.00.$29.00Current price is: $29.00. Add to cart -
Sale!

2026 NEW Updated Senhaix GT-12 Pro Handheld Walkie Talkie Multi-Band 10W Outdoor Mobile App Programming GPS Walkie Talkie
Original price was: $398.00.$195.00Current price is: $195.00. Select options This product has multiple variants. The options may be chosen on the product page -
Sale!
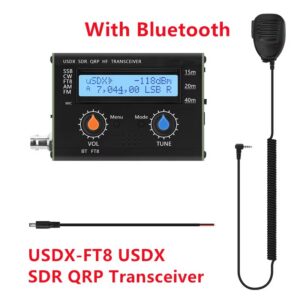
USDX-CW/USDX-FT8 5W usDX SDR QRP Transceiver QCX-SSB to SSB 15m/20m/40m 3-Band All Mode HF Transceiver With Bluetooth
Price range: $124.00 through $126.00 Select options This product has multiple variants. The options may be chosen on the product page -
Sale!
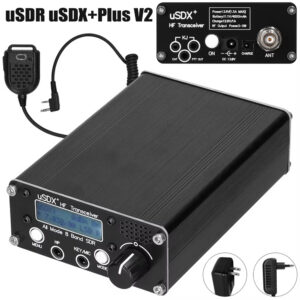
uSDR uSDX+ V2 SDR Transceiver 8 Bands All Mode High Frequency SSB CW AM QRP Short-wave Transceiver with BNC Antenna Connector
Original price was: $356.00.$148.00Current price is: $148.00. Add to cart -
Sale!
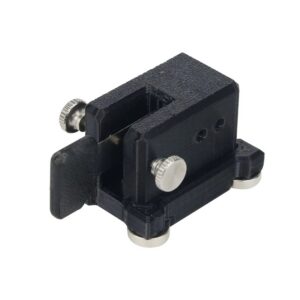
CH-5030 Single Paddle CW Morse Key – Magnetic Base, Portable
Original price was: $198.00.$42.00Current price is: $42.00. Add to cart -
Sale!
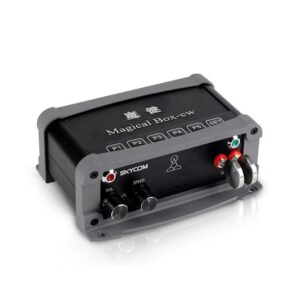
Touch Automatic CW Key Magical Box – Long Range Radio Side Tone USB Hub with Online Auto Send
Original price was: $399.00.$159.00Current price is: $159.00. Add to cart -
Sale!
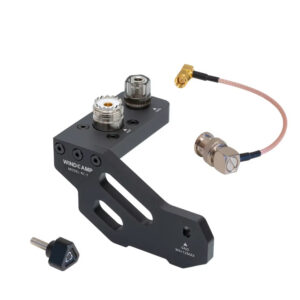
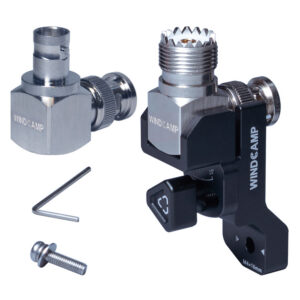
WINDCAMP RC‑1 Quick‑Release Antenna Stand for ICOM IC‑705 (CNC Aluminum)
Original price was: $99.00.$52.72Current price is: $52.72. Add to cart